
Define your game’s visual style
Pick a Character Sprite Pack for Your Indie Game works best as a clear sequence: define the constraint, compare the realistic options, test the tradeoff, and choose the path with the fewest hidden costs. That order keeps the advice usable instead of decorative. After each step, pause long enough to check whether the recommendation still fits the reader's actual situation. If it depends on perfect timing, unusual access, or a best-case budget, include a simpler fallback.
The simplest way to use this section is to write down the real constraint first, compare each option against it, and choose the path that still works outside ideal conditions.
Check animation frame counts
When you drop a character sprite pack into your engine, the math has to work out. If the engine expects a walk cycle of eight frames and the asset only provides six, you’ll get a stuttering, broken animation that no amount of tweaking can fix. Frame count is the first technical gatekeeper between a smooth character and a jarring mess.
Most 2D engines rely on a grid system to slice your sprite sheet. They divide the total width by the number of frames to determine how wide each individual image should be. If your frames are inconsistent—say, some are 64 pixels wide and others are 65—the engine will misalign the slicing grid. The result is a character that flickers or shifts position with every step. Consistency is non-negotiable for clean integration.
Directionality adds another layer of complexity. A standard character sprite pack usually includes four directions: front, back, left, and right. Each direction often requires its own set of animation frames. If you are building a top-down RPG, you need to verify that the pack actually contains all four directional sets. Missing a single direction means your character will slide sideways when you press "up," breaking immersion instantly.
Before you commit to a pack, open the sprite sheet in an image editor. Zoom in and count the frames in each row. Ensure every frame has the exact same dimensions. If the pack includes multiple animations—like idle, walk, run, and attack—check that they all follow the same frame count structure. Mismatched lengths will force you to write complex code to handle timing gaps, which is a headache you do not need at this stage.
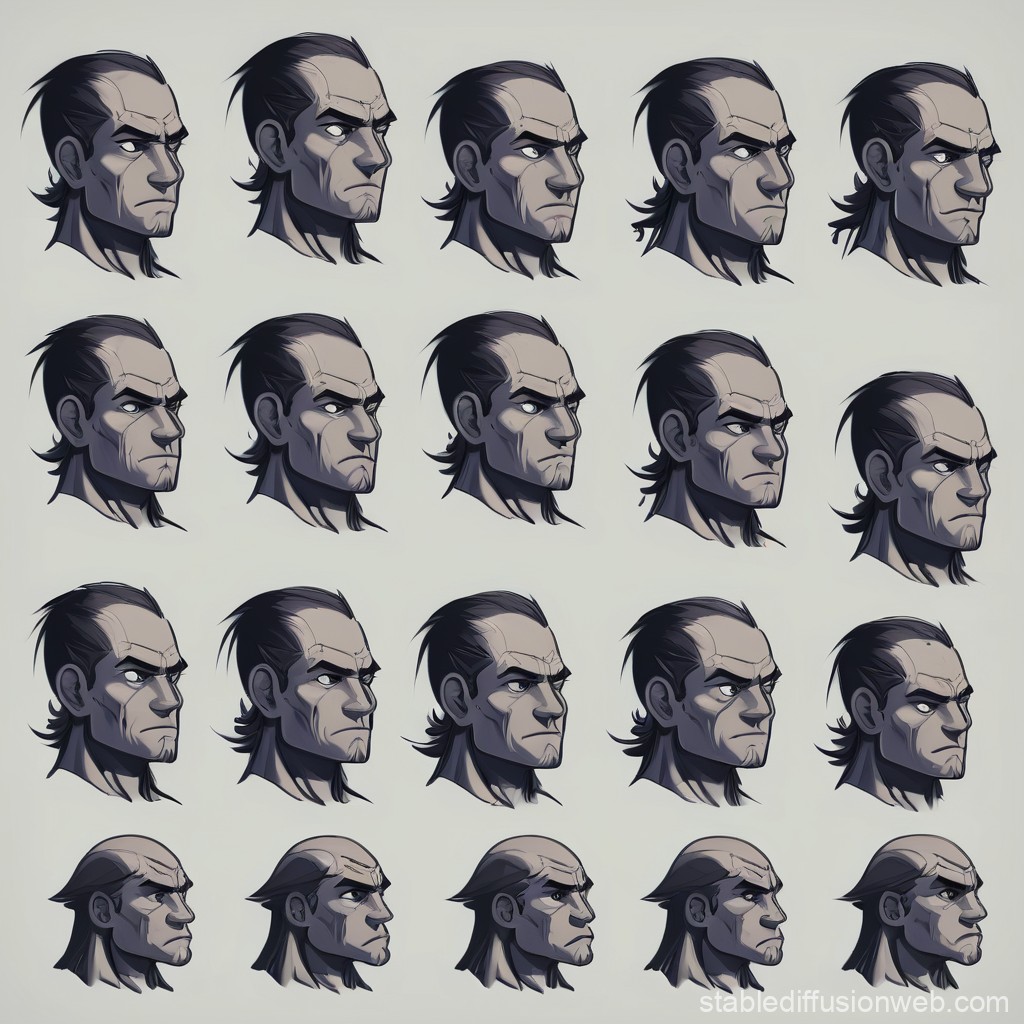
Load the sprite sheet image into your editor. Look for the grid lines or the distinct separation between characters. Identify the row that corresponds to the primary animation loop, usually the walk cycle.
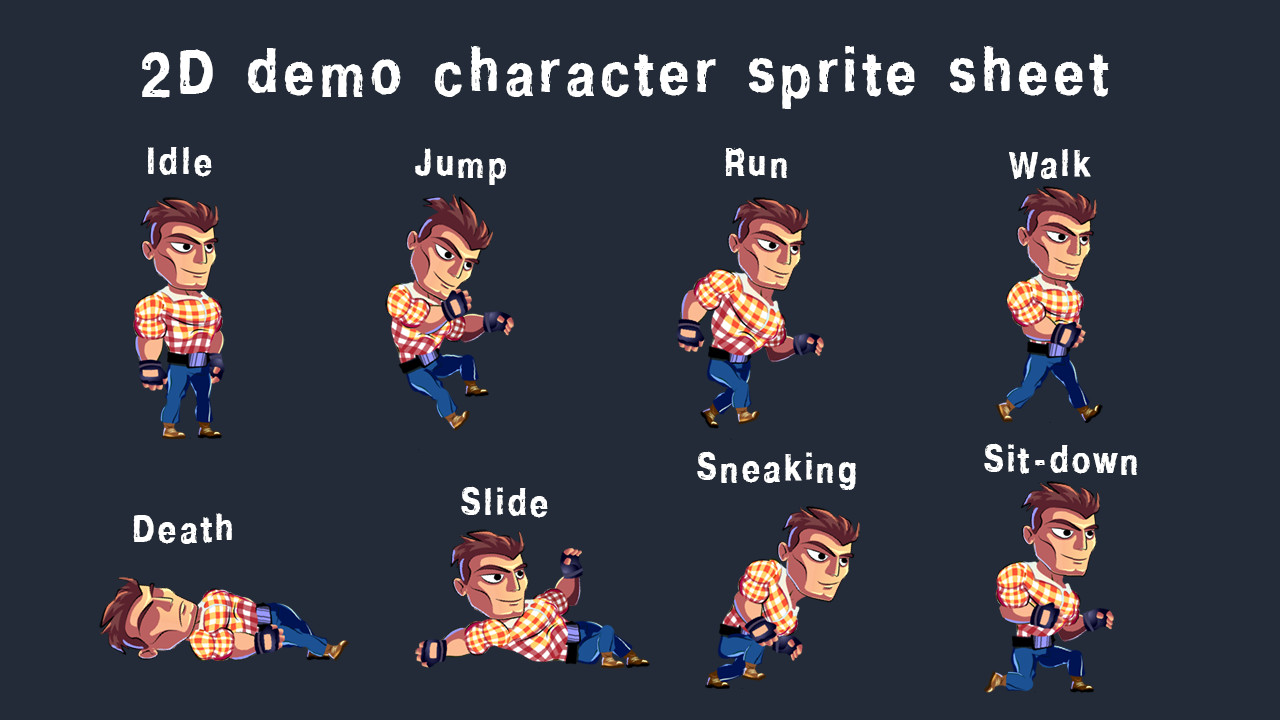
Count how many distinct images appear in a single horizontal row. This number represents the total frames for that specific animation. Note this number down; you will need it for your engine’s animation settings.
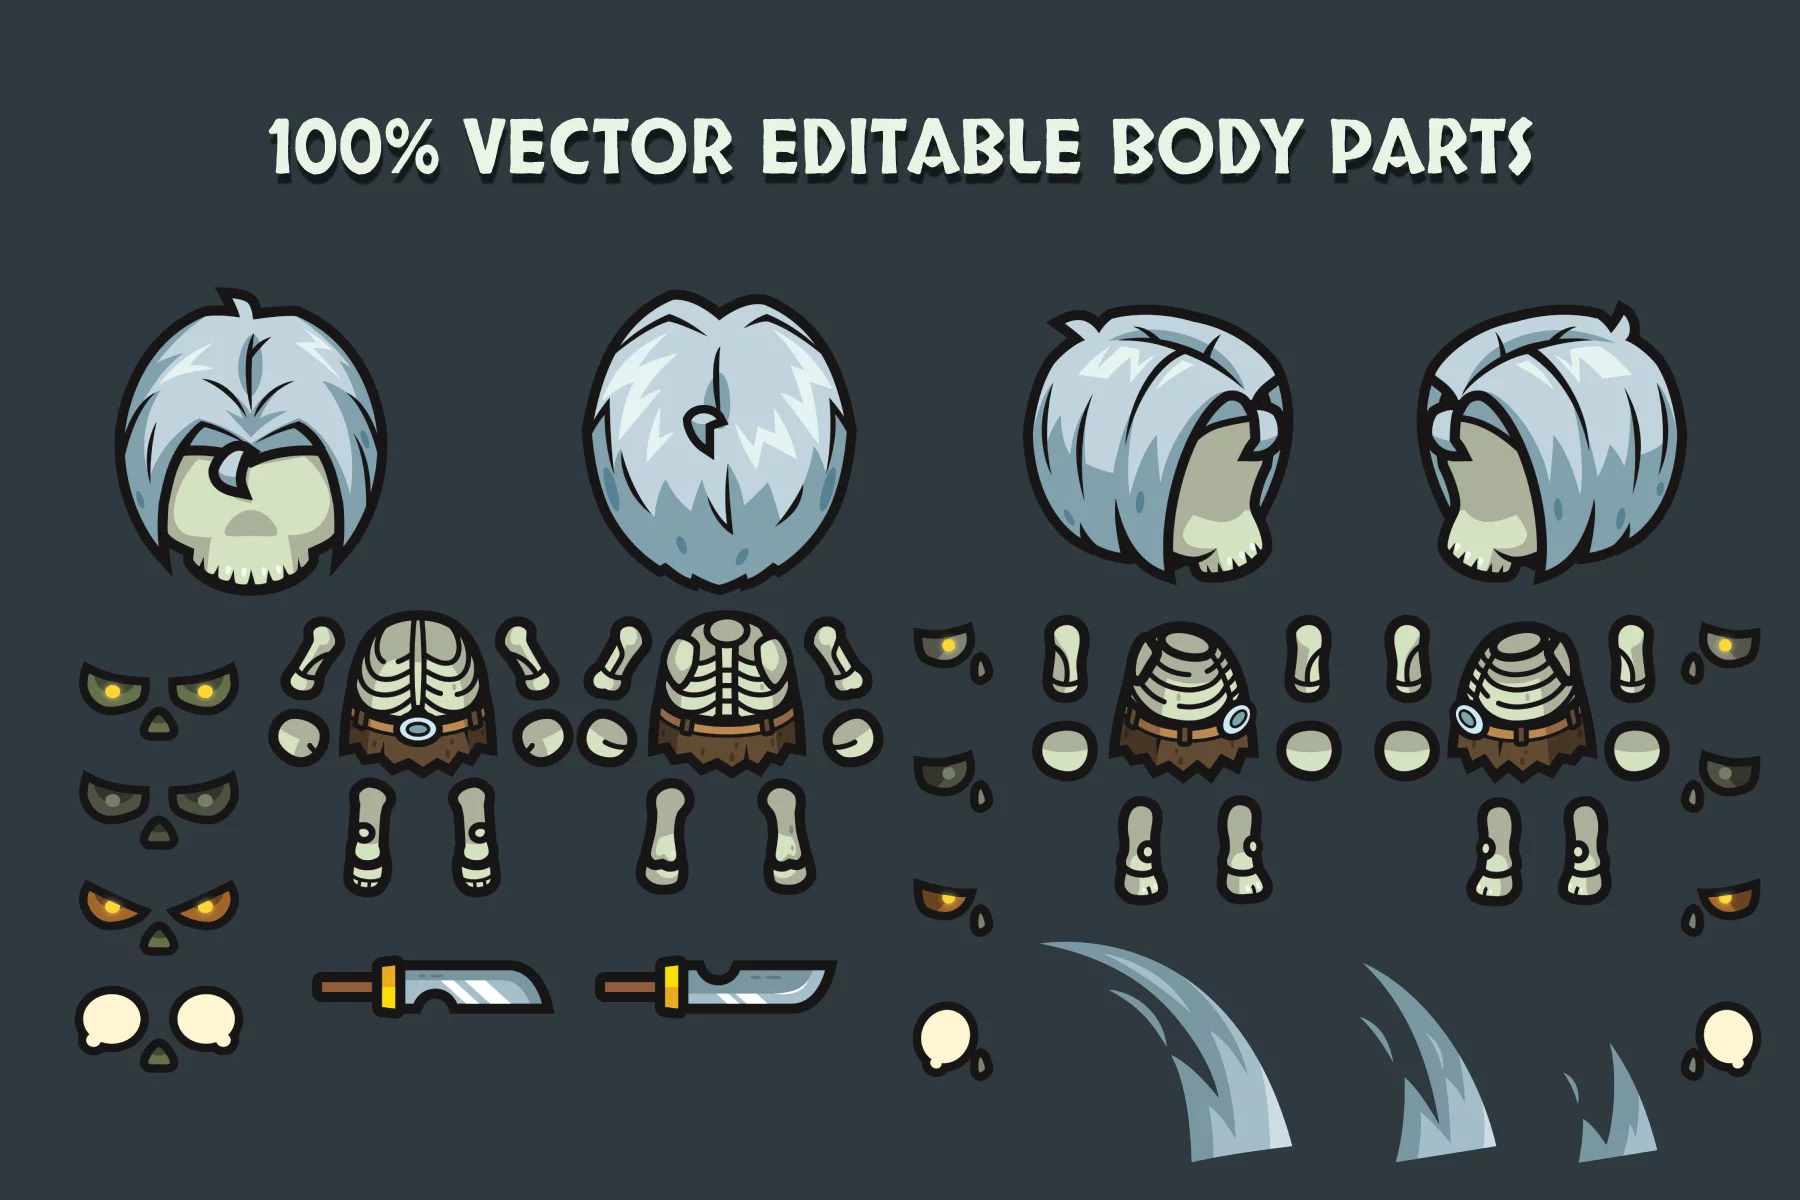
Check the pixel width of at least three different frames in the row. They must be identical. If one frame is wider or narrower, the engine’s slicing tool will fail to align the character correctly during playback.
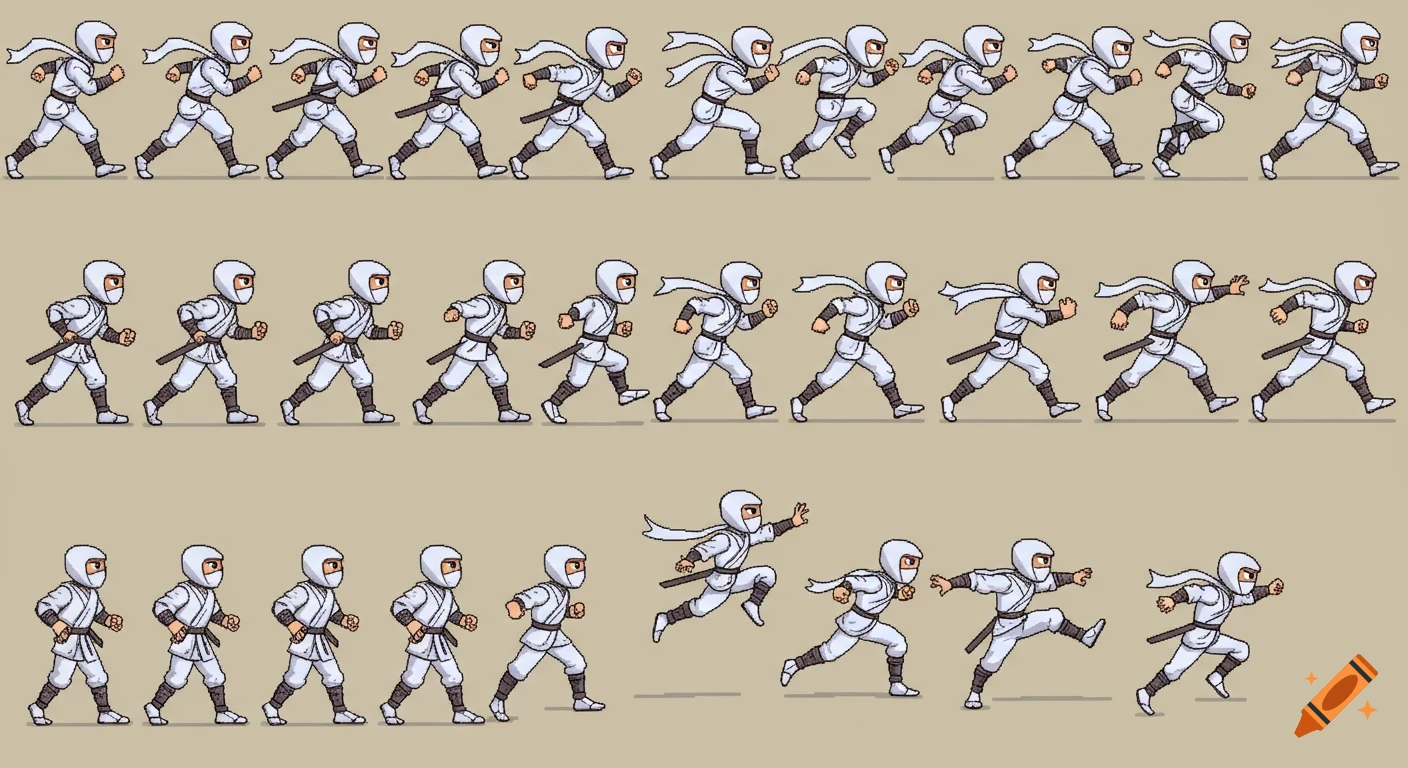
Repeat the count and dimension check for all directional rows (front, back, left, right). Ensure every direction has the same number of frames. If one direction has more frames than the others, you will need to trim or pad the animation manually.
Check the license before you download
Before you drag a character sprite pack into your engine, you need to know who actually owns the art. Many developers assume that because they found it online, it’s free to use. That assumption can lead to takedowns or legal bills later.
Most sprite packs fall into three categories. Understanding the difference saves you from accidental infringement.
- Free for personal use: You can use these for prototypes, learning, or non-commercial jams. You cannot sell the game or include these sprites in a paid app without purchasing a separate commercial license.
- Creative Commons (CC): These often require attribution. You must credit the artist in your game’s credits or description. Some CC licenses forbid commercial use entirely, while others allow it with conditions.
- Commercial license: This is what you need for a game you plan to sell or monetize. It usually grants you the right to use the assets in a finished product, distribute it, and sometimes modify the sprites. Always check if the license is "royalty-free" (one-time fee) or requires ongoing payments.
When browsing marketplaces, look for the "License" tab on the asset page. If it’s not listed, contact the creator. Never guess. A clear license is the foundation of a safe indie game.
Check file format and resolution
Your character sprite pack needs to play nicely with your game engine, and that starts with the file format. PNG is the industry standard for 2D sprites because it supports alpha transparency. This means you can have a character with a cutout shape—like a jagged sword or flowing cape—without a clumsy white box around it.
When you download a pack, look for a file extension of .png. Avoid JPEGs for character assets; they use lossy compression that creates "artifacts" or blurry edges around your sprite’s outline. These artifacts become especially visible when the character moves against a complex background, breaking the visual immersion of your game.
Resolution matters just as much as format. Most indie engines expect sprites to be power-of-two sizes (like 32x32, 64x64, or 128x128 pixels) for efficient memory handling. If the sprites in your pack are 50x50, your engine might stretch them or waste memory padding them to the next power of two, which can cause subtle rendering glitches.
Where to Find Character Sprite Packs
You don't need to draw every frame yourself. The indie dev ecosystem is built on marketplaces where you can grab a character sprite pack that fits your game's aesthetic instantly. These platforms range from free community hubs to professional asset stores, each with different licensing and quality standards.
itch.io
itch.io is the go-to for free and low-cost assets. The "Free Game Assets" section is a goldmine for indie developers who need to move fast. You'll find thousands of character sprite packs, often created by the same artists who sell their full games. The licensing is usually clear and permissive, making it safe for commercial projects. It's less curated than other stores, so you'll spend some time filtering through the noise, but the variety is unmatched.
CraftPix
CraftPix offers a mix of free and premium packs with a focus on quality and consistency. Their character sprite sheets are well-organized, often including idle, walk, and action animations in a single file. This platform is ideal if you want a polished look without spending hours tweaking pixel grids. The premium packs are affordable and come with detailed documentation, which helps when integrating assets into your engine.
GameArt2D
GameArt2D specializes in high-quality 2D assets with a strong emphasis on freebies. While their paid store is extensive, their free section is surprisingly robust. You can find complete character sprite packs for RPGs, platformers, and casual games. The art style is consistent across their library, which makes it easier to maintain a cohesive look if you mix and match assets from their free collection.
Unity Asset Store & Unreal Marketplace
If you're building in Unity or Unreal, their official stores are the safest bet for compatibility. Character sprite packs here often come with pre-configured scripts or animation controllers. This saves you from writing boilerplate code for movement and states. While the quality is generally higher, the prices are also higher, and you might find yourself paying for features you don't need.



As an Amazon Associate, we may earn from qualifying purchases.
Import and slice your character sprite pack
Getting your art into the engine is where the rubber meets the road. Whether you are building in Unity or Godot, the process follows a similar rhythm: import the file, define the grid, and test the animation. This section walks you through the essential steps to ensure your character sprite pack behaves correctly in your game world.
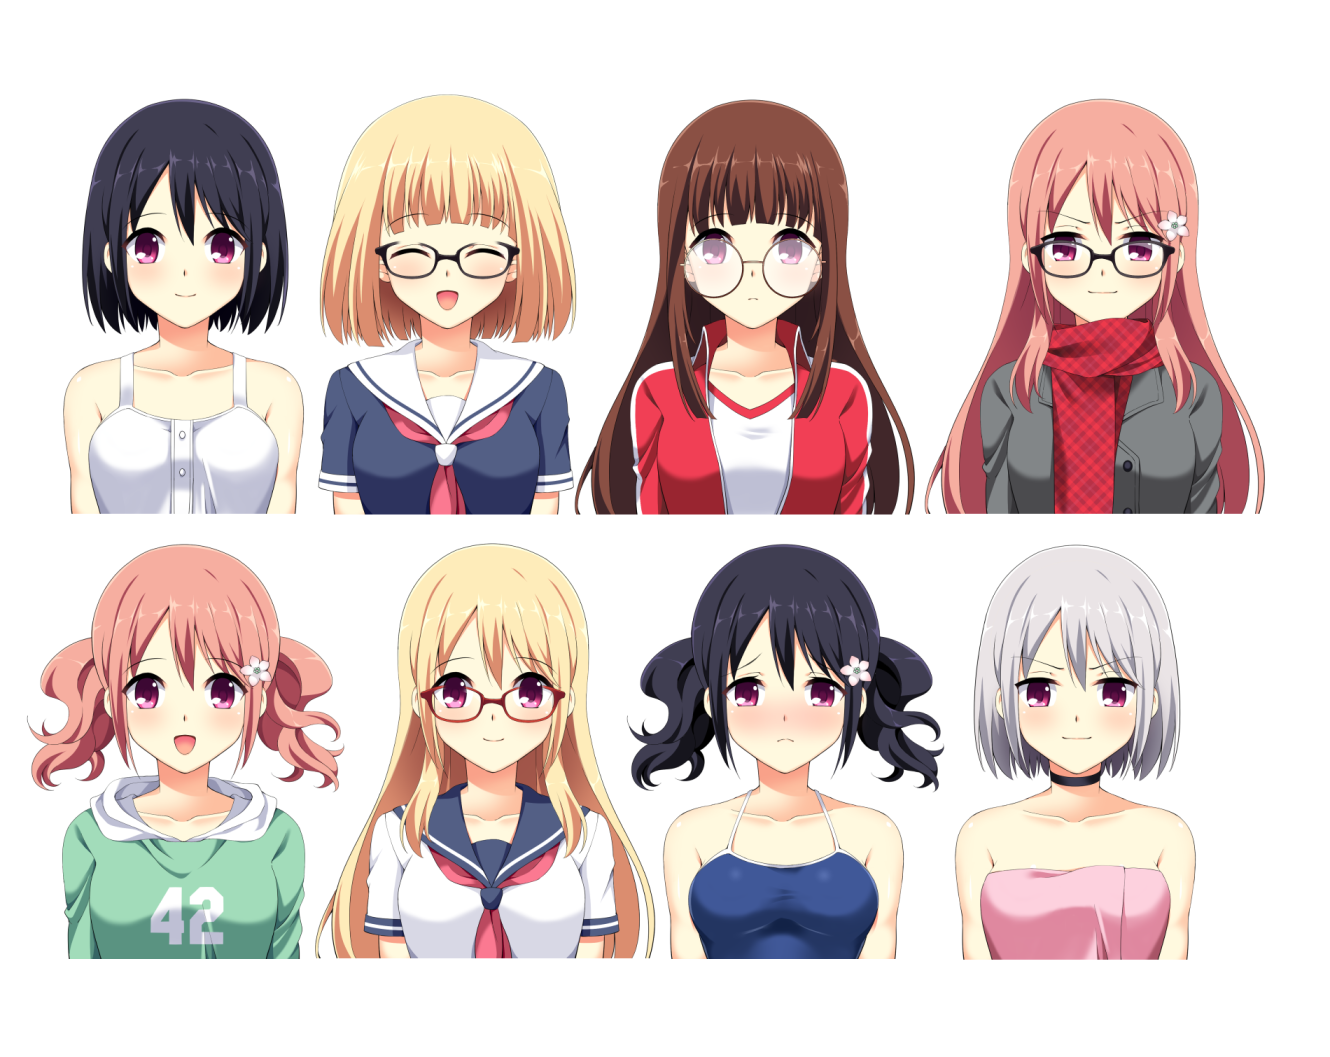
Drag your sprite sheet image into your engine’s project folder. In Unity, this goes into the Assets folder; in Godot, into the res:// directory. Ensure the texture import settings are set to "Sprite Sheet" or "Multi Atlas" so the engine recognizes it as a collection of frames rather than a single static image.
Open the sprite editor to define the grid. Enter the exact width and height of a single frame from your character sprite pack. For most indie projects, frames are 32x32 or 64x64 pixels. If your sheet has irregular spacing, use the "Slice by Grid Size" option and double-check the margins to prevent overlapping frames.
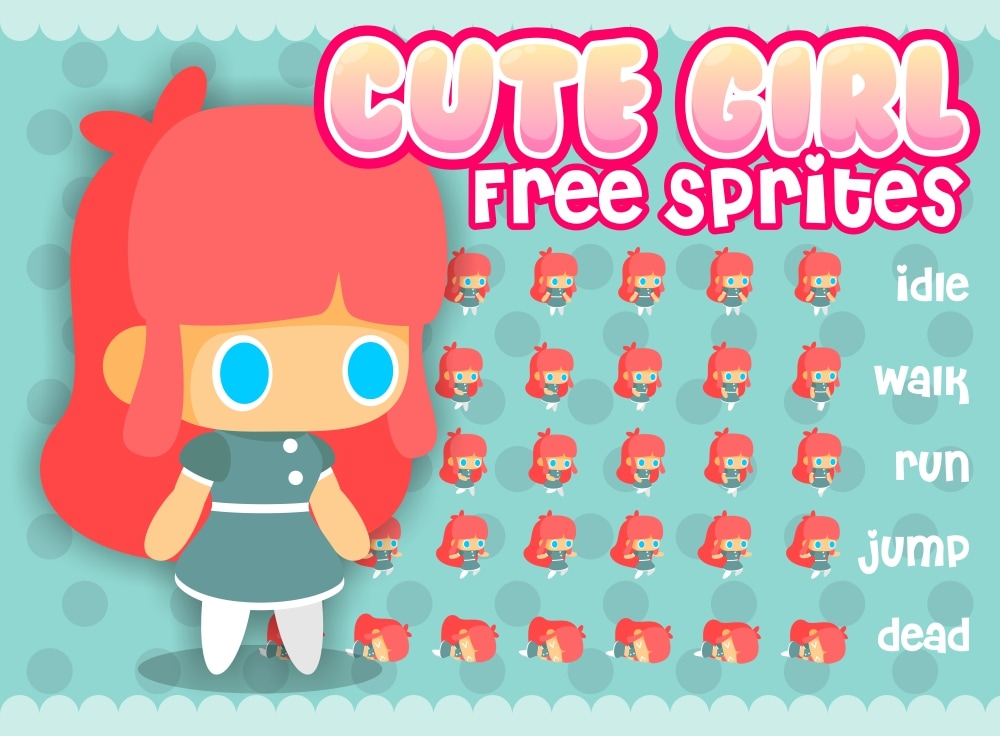
Create a new GameObject (Unity) or SpriteNode (Godot) and attach a Sprite Renderer component. Drag your sliced sprite sheet into the Renderer’s Sprite property. The engine will automatically generate individual sub-sprites for each frame, which you can now reference in your animation controller.
Create an animation clip and drag the sub-sprites into the timeline in order. Adjust the frame duration to match your desired speed—typically 0.1 to 0.2 seconds per frame for a smooth walk cycle. Play the scene and watch your character move. If the animation feels choppy, tweak the timing or check if you missed a frame in the grid definition.
Once imported, your character sprite pack is ready for logic. The visual fidelity depends heavily on accurate slicing, so take a moment to zoom in and verify that no frames are cut off or duplicated. From here, you can bind these animations to input events and start building your game loop.
Final checklist for asset selection
Before you commit to a character sprite pack, run through this quick review to ensure it fits your project’s needs. Picking the wrong assets can cause technical headaches later, so take a moment to verify the basics.
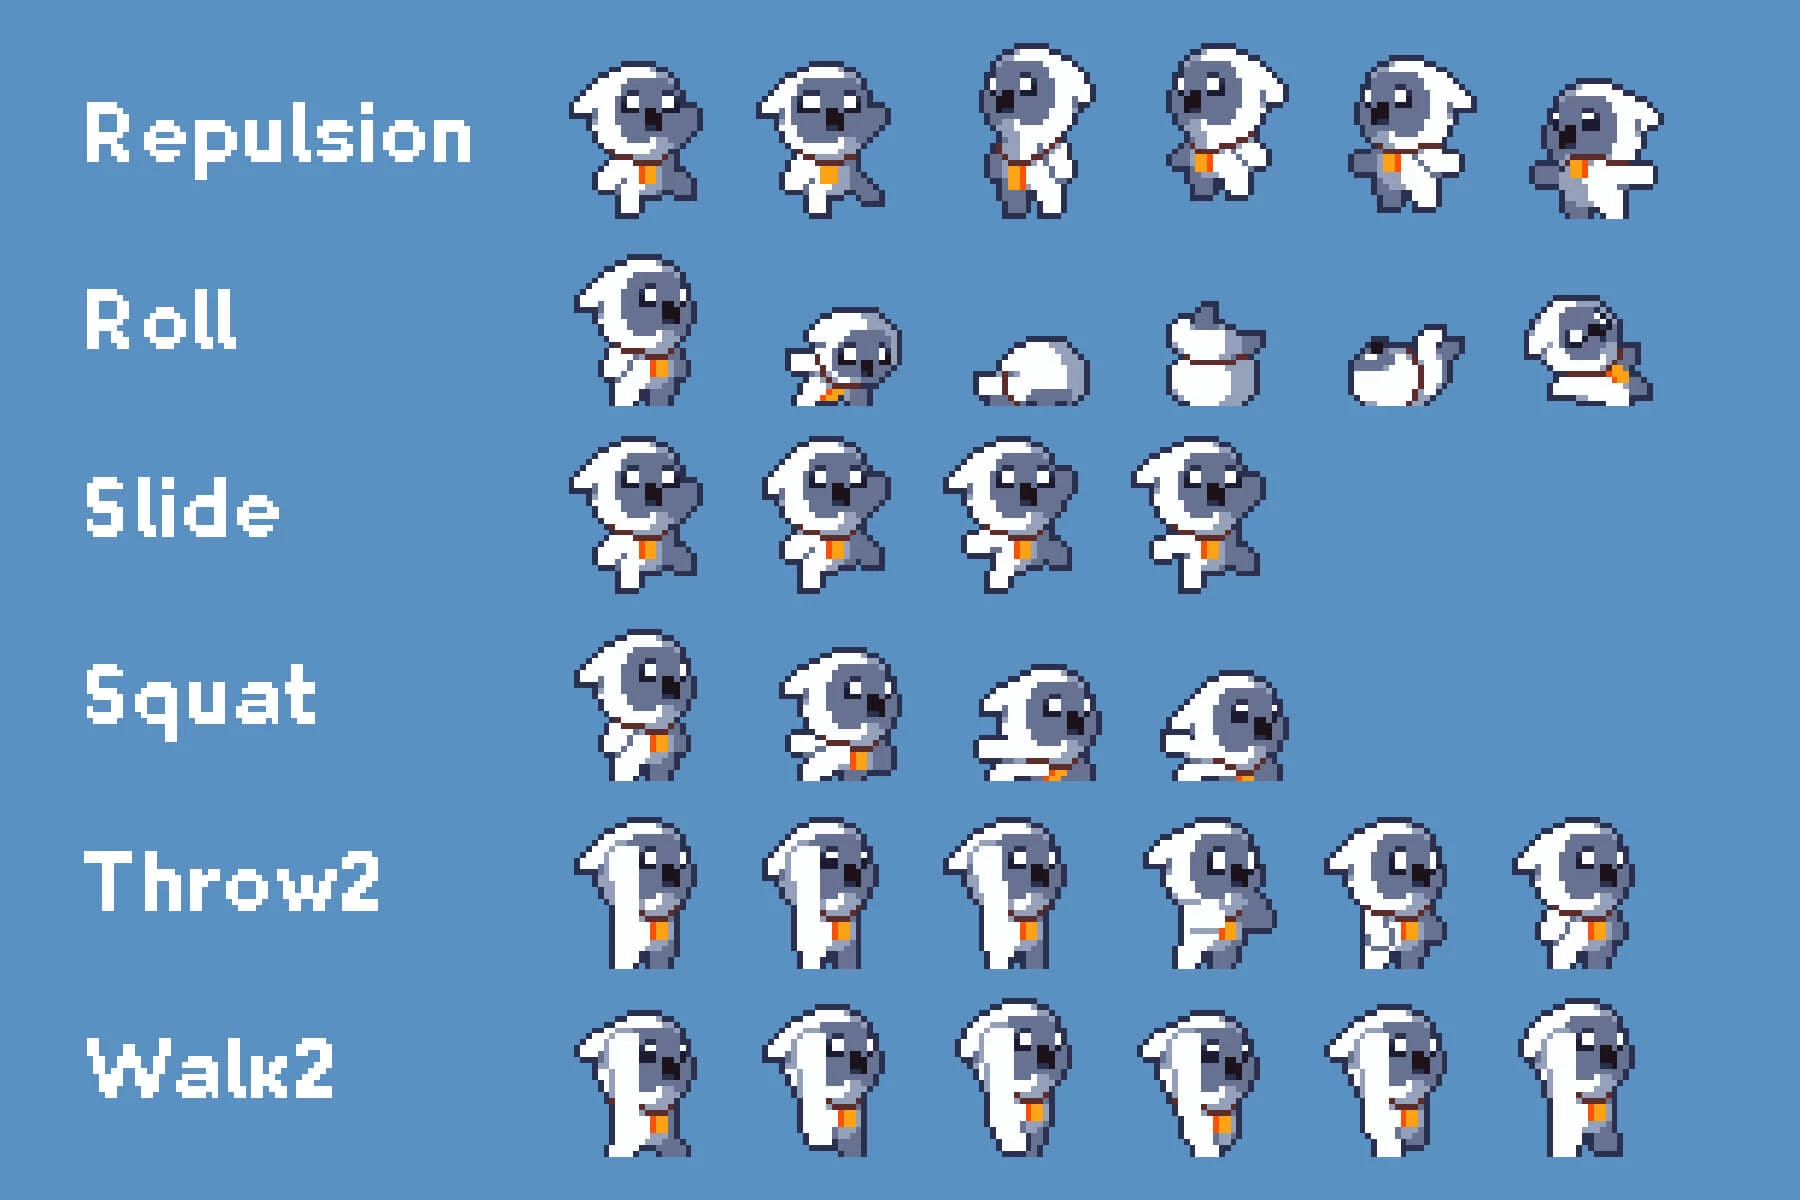
- Animation completeness: Does it include all necessary states (idle, run, jump, attack)? Missing frames break the flow of gameplay.
- Resolution and scale: Are the sprites the correct pixel dimensions for your game’s resolution? Scaling up low-res sprites often leads to blurry visuals.
- License permissions: Can you use the assets in a commercial game? Check if attribution is required or if there are restrictions on redistribution.
- File format compatibility: Does the pack provide PNGs or a spritesheet compatible with your engine (Unity, Godot, etc.)?
Use this checklist to avoid last-minute reworks and keep your development timeline on track.
No comments yet. Be the first to share your thoughts!