
Start with free open-source libraries
Before commissioning custom assets or purchasing premium packs, tap into established open-source icon libraries. These resources provide thousands of SVG and PNG icons that are ready to drop into your project. They are particularly effective for indie developers building RPGs, platformers, or mobile UIs who need consistent visual language without the licensing friction of commercial marketplaces.
Game-icons.net is a foundational resource for this workflow. The library hosts over 4,000 free icons, organized by intuitive categories like combat, nature, and UI elements. Because the icons are primarily vector-based, you can scale them to any resolution without losing quality. The site also offers a color picker, allowing you to match the icons to your game’s specific palette before downloading.
For broader collections, Flaticon and Icons8 offer extensive libraries with millions of assets. Flaticon provides gaming-specific sets that include everything from health potions to controller symbols. Icons8 specializes in stylistic consistency, offering games icons in over 50 different design styles, from flat to 3D. Both platforms allow free downloads, though they often require attribution.
Navigate to game-icons.net or Flaticon and filter by your genre, such as "Fantasy" for RPGs or "Sci-Fi" for space shooters.
Pick a style that matches your game’s aesthetic. Use the built-in color tools to adjust hues so the icons blend seamlessly with your UI.
Download the SVG or PNG files. For SVGs, you can further edit paths in software like Figma or Illustrator to ensure they meet your exact pixel requirements.
Choose premium packs for cohesive art direction
Mixing free assets is like building a house from mismatched lumber. You might get a roof, but the doors won’t fit the frames. For indie developers, visual consistency is not just an aesthetic choice; it is a production constraint. Buying a unified asset pack ensures that every icon, sprite, and UI element shares the same resolution, perspective, and lighting engine. This cohesion allows your game to look polished even with a tiny team.
When you select a premium bundle, you are buying a unified art direction. Whether you are building an RPG inventory system, a platformer HUD, or a casual mobile menu, the assets will align perfectly. This saves hours of manual editing in Photoshop or GIMP. Instead of stretching pixels or adjusting color palettes to match disparate sources, you drag and drop. The result is a professional interface that reads clearly to players without visual noise.
The following comparison highlights the operational differences between sourcing individual free icons versus purchasing a cohesive premium pack. For indie devs, the time saved on asset alignment often outweighs the initial cost.
| Feature | Mixed Free Assets | Unified Premium Pack |
|---|---|---|
| Visual Consistency | Inconsistent styles, lighting, and resolution; requires heavy post-processing. | Same perspective, lighting engine, and pixel grid; ready to use. |
| Development Speed | Slower; hours spent editing and masking to match assets. | Faster; drag-and-drop implementation with zero visual conflict. |
| Scope Management | High risk of scope creep as missing elements require hunting. | Predictable; complete sets cover all UI and gameplay needs. |
| Cost Efficiency | Low upfront cost, but high hidden labor costs. | Higher upfront cost, but lower total development time. |
Top-Rated Asset Bundles for Indie Devs
If you are ready to invest in a cohesive visual style, these bundles offer high-quality, unified assets tailored for specific genres. These selections are curated for their consistency and relevance to indie development workflows.
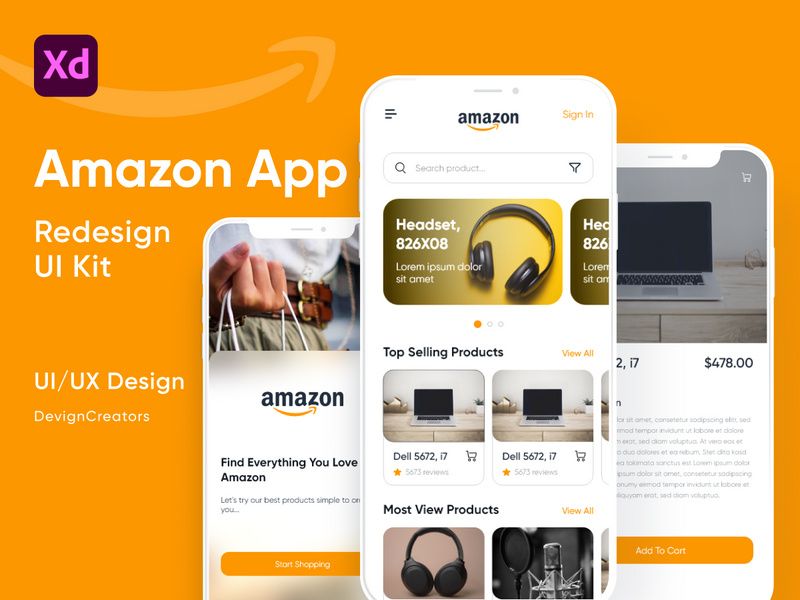

As an Amazon Associate, we may earn from qualifying purchases.
Integrate assets into your game engine
Downloading premium game icon downloads is only the first step. To keep your project running smoothly, you need to import, scale, and organize these assets within your engine of choice. Whether you are building a turn-based RPG or a fast-paced platformer, proper asset management prevents texture bleeding, reduces draw calls, and keeps your codebase clean. This section walks through the technical workflow for Unity and Godot, two of the most popular engines for indie developers.
Start by placing your downloaded icon packs into your engine’s designated assets folder. In Unity, this is typically the Assets/ folder; in Godot, it is the res:// directory. Most engines will automatically detect new files and refresh their project view. Avoid dragging files directly into the scene hierarchy; instead, drop them into the project browser to establish a clear asset pipeline. This ensures that your icons are referenced by path rather than being duplicated or lost when you move files around.
Once imported, select your icon files and adjust their import settings. For pixel-art style icons, set the filter mode to "Point" to preserve crisp edges and avoid blurring when scaled. For vector-based SVG imports, ensure the resolution is set to a high enough DPI for UI use. If you are using PNGs for 2D platformers, check the "Generate Mip Maps" option only if you plan to use these icons at varying distances; for UI elements or close-up sprites, disabling mip maps often yields sharper results. Consistent scaling rules here prevent visual artifacts later in development.
Group your icons by function or game genre to streamline access during coding. Create subfolders such as UI/Buttons, Characters/Icons, or Environment/Items. If your engine supports tagging or metadata, label icons with relevant keywords (e.g., "health," "weapon," "menu"). This organizational habit pays off quickly when you need to reference specific assets in scripts or UI builders. For example, an RPG developer might separate character portrait icons from inventory item icons to avoid clutter in the inspector.
Finally, link your organized icons to your game logic. In Unity, drag the icon from the project browser to the public variable in your C# script or UI Image component. In Godot, load the icon via preload() or load() functions in GDScript, or assign it directly in the Control node’s texture property. Ensure that your code references the asset by path or resource ID rather than hardcoding strings, which makes refactoring easier. This step connects your visual assets to the interactive elements of your game, completing the integration process.
Verify licensing for commercial use
Before integrating any icon pack into your game project, you must confirm the license allows commercial use. Many "free" assets are restricted to personal or editorial use only, meaning you cannot use them in products sold for profit. Ignoring this distinction can lead to takedown notices or legal disputes, especially for indie developers operating on tight margins.
Focus on three common license types. Creative Commons Attribution (CC BY) requires you to credit the creator in your game’s credits or documentation. Public Domain (CC0) allows free use without attribution, offering maximum flexibility for UI elements or background sprites. Royalty-Free Commercial licenses typically allow unlimited commercial use but may prohibit reselling the raw asset file itself. Always read the specific terms for each pack, as platforms like Flaticon or Game-icons.net vary in their requirements.
Keep a record of your licenses. Save the license text or a screenshot of the download page next to the asset in your project folder. This documentation proves your right to use the icons during development and serves as proof of compliance if a rights holder questions your usage later.
Common questions about game assets
Indie developers often get stuck on the technical details of downloading and using game icons. Knowing which file format fits your engine and how to handle attribution can save hours of debugging and legal review.
No comments yet. Be the first to share your thoughts!