
Unity 2026 icon requirements
Unity 2026 changes how the engine handles digital assets. Early documentation shows a push for high-resolution textures and aggressive compression. You'll need to optimize icons more strictly than in previous versions, even for basic UI elements.
Specifically, Unity 2026 seems to favor vector-based icons where possible, offering better scalability across different screen densities. While raster images are still supported, the engine's new rendering pipeline appears to prioritize assets that can maintain sharpness at higher resolutions. Expect potential performance penalties for unoptimized raster icons, particularly on mobile platforms.
A key focus is increased cross-platform consistency. Unity is aiming to minimize visual discrepancies between games running on PC, consoles, and mobile devices. This translates to stricter guidelines around color spaces and asset formats. Developers should anticipate a need to update their workflows to ensure icons look uniform regardless of the target platform.
The documentation available as of April 2026 highlights improvements to the asset pipeline, aimed at simplifying the import and management of large asset packs. However, these improvements are coupled with new requirements for asset labeling and metadata to ensure compatibility with the engine’s updated systems.
Top 10 asset packs for Unity 2026
Several asset packs have emerged as strong contenders for developers preparing for the Unity 2026 transition. The following list, compiled from recent reviews and showcases on YouTube, UnityCodeMonkey, and Makaka.org, highlights ten options that address the new requirements and offer compelling features.
1. Zenith UI Icons: Frequently featured in March 2026 asset roundups, Zenith UI Icons offer a comprehensive set of vector-based icons designed for modern UIs. They’re praised for their clean aesthetic and scalability. Best suited for sci-fi and futuristic games.
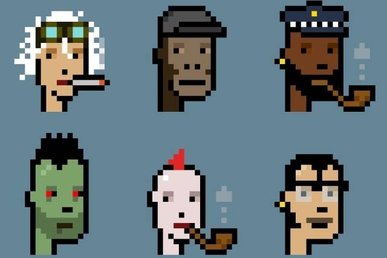
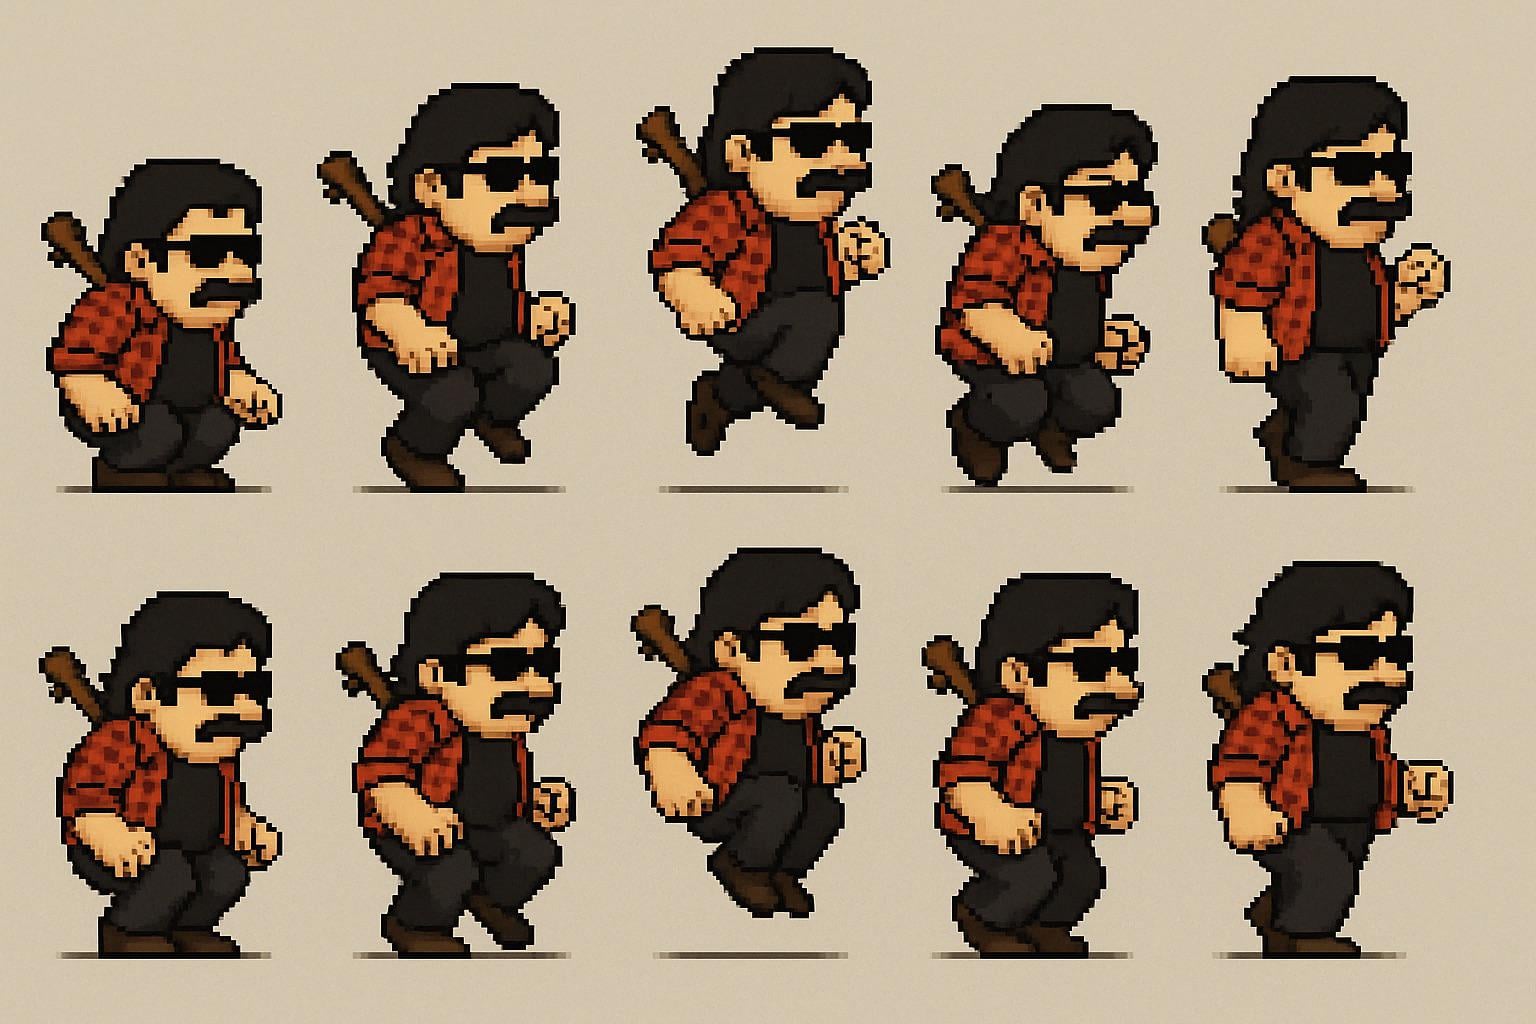
2. Pixel Perfect Icons: A retro-focused pack, Pixel Perfect Icons provides a range of pixel art icons ideal for 2D platformers and RPGs. These are well-optimized for lower resolutions and maintain a crisp look even when scaled.
3. Fantasy UI Pack: This pack focuses on medieval and fantasy-themed icons, offering a diverse collection of symbols and elements. It’s a good choice for RPGs and strategy games with a historical setting.
4. Sci-Fi Interface: A strong contender for space games and futuristic titles, this pack delivers a polished set of icons that fit a high-tech aesthetic. The assets are designed with clarity and usability in mind.
5. Minimalist Icons: If you’re aiming for a clean and modern UI, Minimalist Icons offer a range of simple, yet effective, icons. They’re versatile and can be adapted to a variety of game genres.
6. Adventure Game Icons: Specifically tailored for adventure games, this pack includes icons for inventory items, quest markers, and dialogue options. It’s designed to enhance the player experience.
7. RPG Icon Set: A dedicated RPG icon set, offering a robust library of icons for skills, items, characters, and more. It’s a comprehensive solution for RPG developers.
8. Mobile Game UI: Optimized for mobile platforms, this pack provides icons that are clear and easy to read on smaller screens. It’s a good choice for casual games and mobile RPGs.
9. Modern UI Kit: This kit provides a collection of modern UI elements, including icons, buttons, and panels. It’s designed to help developers create visually appealing and user-friendly interfaces.
10. Basic Game Icons: A foundational pack offering essential icons for any game project. While not as specialized as other options, it provides a solid starting point for developers on a budget.
How to optimize cross-platform icons
Creating icons that translate well across platforms requires a careful approach. The primary consideration is choosing between vector and raster graphics. Vector graphics, like those created in Adobe Illustrator or Inkscape, are mathematically defined and can be scaled infinitely without losing quality. This makes them ideal for icons that need to appear sharp on high-resolution displays.
Raster graphics, on the other hand, are pixel-based. While they can be effective, they require careful planning to avoid pixelation when scaled up. If using raster graphics, ensure you create icons at the highest resolution you anticipate needing, and then scale them down as necessary. Using mipmaps can also help reduce aliasing artifacts.
Color palettes need to be consistent. Stick to sRGB to avoid shifts between devices. Mobile screens often handle saturated colors better, while console outputs might require more restraint to avoid clipping.
Finally, test your icons on a variety of devices and screen sizes. This is the best way to identify potential issues and ensure that your icons look good on all platforms. Tools that simulate different display resolutions can also be helpful during the development process.
Asset store trends for 2026
The Unity Asset Store is moving toward stylized UI. Data from UnityCodeMonkey shows developers are picking hand-painted and cartoon packs over photorealistic ones to help their games stand out.
There’s also a growing demand for assets that support dark mode UIs. With more and more users opting for dark themes on their devices, developers are prioritizing assets that look good in both light and dark environments. This has led to a surge in the availability of icon packs that offer both light and dark variants.
Another notable trend is the increasing popularity of assets that are designed specifically for mobile platforms. This reflects the continued growth of the mobile gaming market and the need for assets that are optimized for smaller screens and lower processing power.
These trends suggest that developers are prioritizing user experience and visual appeal, even on lower-end devices. They’re also looking for assets that are easy to integrate and customize, allowing them to quickly create polished and engaging UIs.
Free vs. Premium Game Icon Assets: A Decision Matrix for Unity 2026 Development
| Cost | Quality | Customization | Licensing | Support |
|---|---|---|---|---|
| Typically No Cost | Variable, often Basic | Limited Editing Options | May Have Restrictive Terms | Community Forums Primarily |
| Investment Required | Generally Higher & More Consistent | Extensive; Source Files Often Included | Commercial-Friendly Options Available | Dedicated Support Channels Possible |
| Good for Prototyping | Trade-off: Quality can be inconsistent | Moderate; May require significant modification | Careful Review Needed for Usage Rights | Reliance on Community Assistance |
| Better for Polished Products | Higher visual fidelity and detail | Greater flexibility to adapt to project needs | Clearer usage guidelines and legal protection | Potential for direct assistance from creators |
| Suitable for Small Teams | Quality dependent on asset source | Limited scope for unique branding | May require attribution | Support varies widely |
| Scalable for Larger Projects | Consistent quality across asset sets | Facilitates a cohesive visual style | Often includes broader usage rights | Dedicated support can expedite integration |
Qualitative comparison based on the article research brief. Confirm current product details in the official docs before making implementation choices.
Importing and using icons
Importing icon assets into Unity is generally straightforward. Simply drag and drop the asset package into your project window. Unity will automatically import the icons as Sprite assets. However, organizing these sprites efficiently is crucial for maintainability.
Consider using Sprite Atlases to combine multiple icons into a single texture. This can significantly reduce draw calls and improve performance, especially on mobile platforms. Unity’s Sprite Atlas system allows you to automatically pack and manage your sprites.
To use the icons in your UI, create a UI Image element and assign the desired sprite to its Source Image property. Adjust the image’s size and position as needed. You can also use Unity’s UI system to create buttons, toggles, and other interactive elements that utilize your icons.
Unity 2026 includes improvements to the sprite import pipeline, offering more control over texture compression and filtering. Experiment with different settings to find the optimal balance between quality and performance. The documentation details these changes, offering guidance on achieving the best results.
- Import the asset package into your Unity project.
- Create a Sprite Atlas to combine multiple icons.
- Create a UI Image element and assign the desired sprite.
- Adjust the image’s size and position within the UI.
No comments yet. Be the first to share your thoughts!