
Define your visual style first
Before you start downloading assets, decide on the visual language of your game. Your indie game icons need to match the tone of your project, whether that’s a retro pixel-art platformer or a sleek vector-based puzzle game. Mixing styles without intention can break immersion, so pick a direction early.
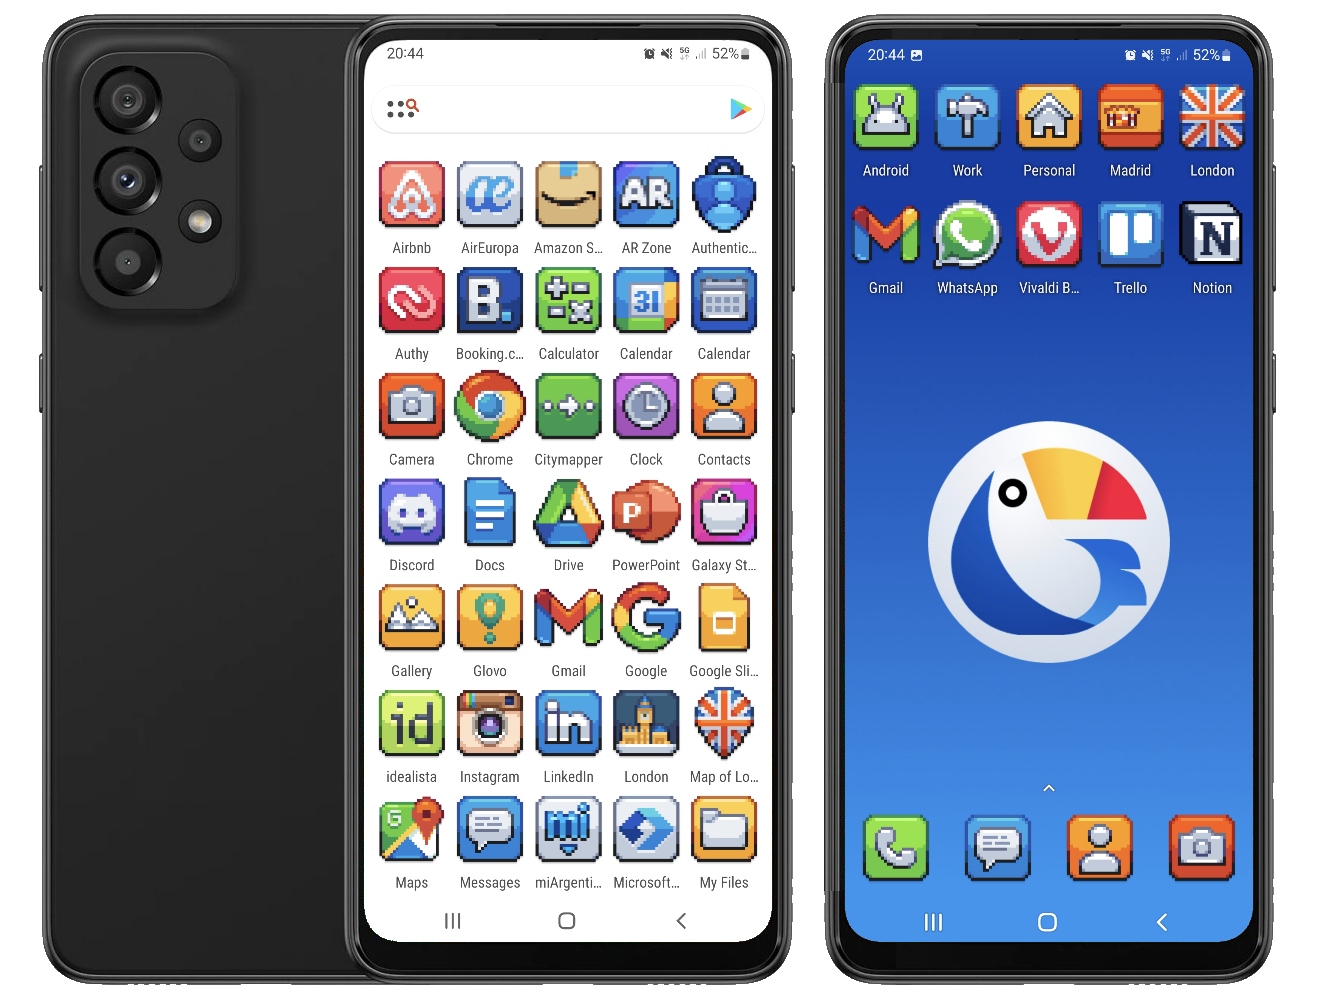
Pixel art icons are timeless for retro games. They evoke nostalgia and work well with limited color palettes. Vector icons offer crisp scalability, making them ideal for modern, minimalist interfaces. Hand-drawn styles add personality and warmth, perfect for narrative-driven or cozy games.
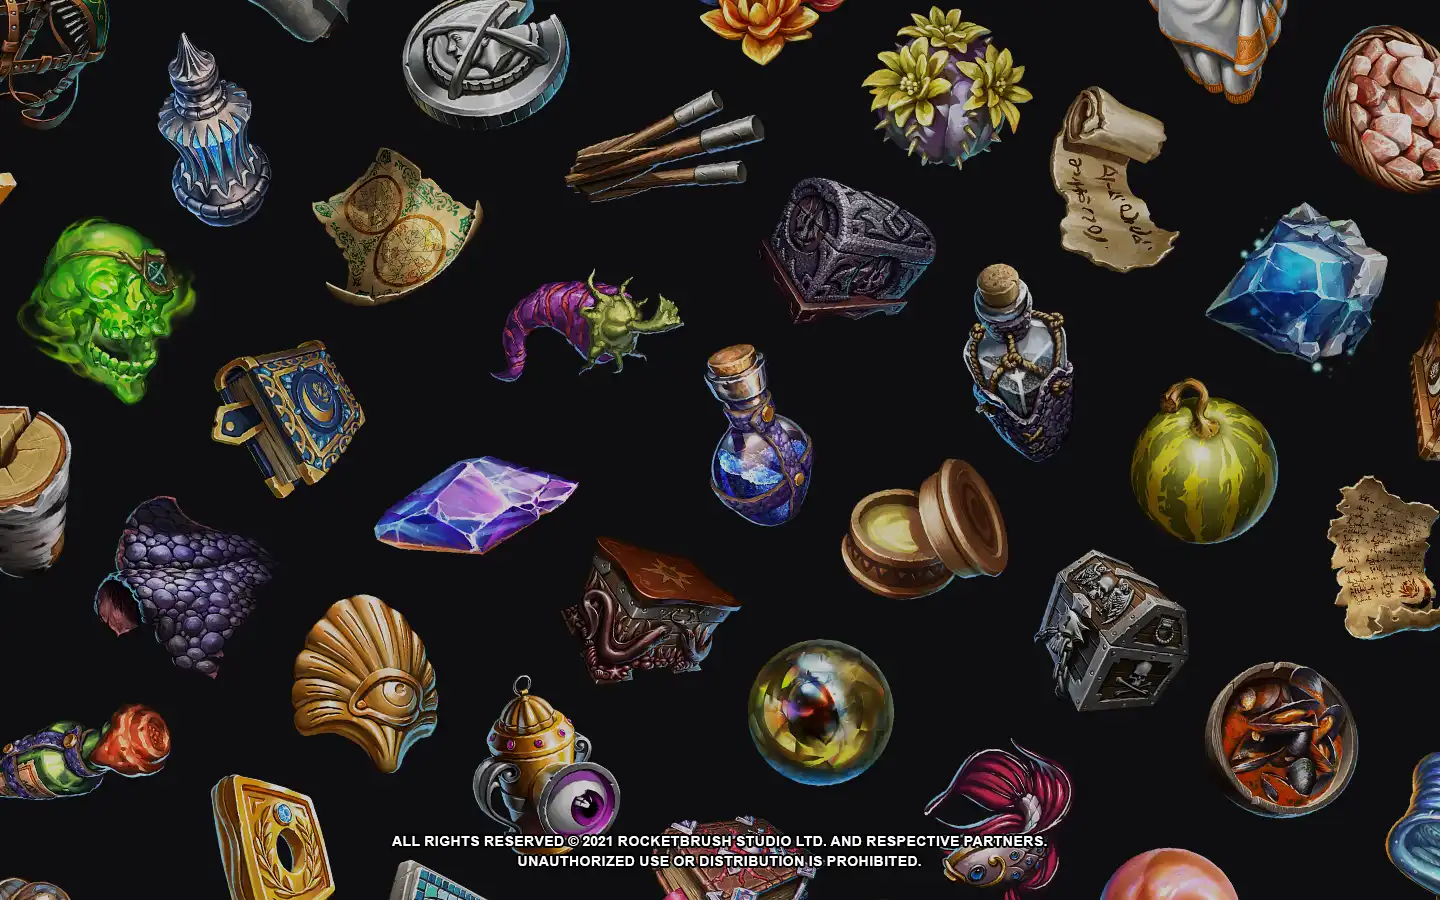
Once you’ve chosen a style, look for resources that specialize in that aesthetic. Sites like Icons8 offer curated sets for specific themes, from indie RPGs to mobile puzzle games. Stick to one style per project to keep your UI cohesive and professional.
Source free and premium assets
Finding the right indie game icons means choosing between the budget-friendly convenience of free libraries and the polished uniqueness of paid marketplaces. Your choice depends on how much time you want to spend customizing versus how much you want to pay upfront.
Free icon repositories
Free resources are excellent for prototyping or games with tight budgets, but you must verify licensing terms carefully. Some sites require attribution, while others restrict commercial use. Always check the specific license for each icon set before dropping it into your project.
- Game-icons.net: A massive collection of free SVG and PNG icons. The site updates weekly with new symbols organized by intuitive categories, making it easy to find exactly what you need for UI elements.
- itch.io: Browse the "Indie" and "Icons" tags to find unique, often pixel-art styles. Many creators offer their packs for free or "pay what you want," allowing you to support artists directly while getting distinct assets.
- The Noun Project: A vast library of simple, clean icons. While the free tier requires attribution, the sheer volume of options means you can likely find a specific symbol without needing to design it from scratch.
Premium asset stores
Paid assets save time and often come with higher production values, consistency, and broader usage rights. If you need a cohesive style that stands out, investing in a premium pack can streamline your workflow significantly.
- Unity Asset Store & Unreal Marketplace: These platforms host professional-grade icon packs tailored for specific engines. They often include source files and documentation, making integration smoother.
- Itch.io Paid Packs: Many indie artists sell their icon sets here. These packs are often more stylized and unique than generic free libraries, helping your game avoid looking like a template.
- Creative Market: A curated marketplace for design assets. Look for icon packs that offer multiple formats and clear commercial licenses.
Choosing the right path
Start with free assets to build your prototype. If the final product gains traction, consider upgrading to premium assets for the polished look. This hybrid approach lets you validate your game concept without a large upfront investment.

As an Amazon Associate, we may earn from qualifying purchases.
Check licensing and usage rights
Before you drag your favorite pixel art icons into your game engine, pause to read the fine print. Using an asset without the proper license can lead to takedowns, legal fees, or forced rebrands later. Think of licensing as the rules of the road: ignore them, and you might crash your project.
Most indie assets fall into three buckets. Personal use only means you can use the icon in a prototype or a non-monetized jam game, but you cannot sell the game or use it in a commercial product. Creative Commons (CC) licenses are common; CC-BY requires you to credit the artist, while CC0 (Public Domain) allows free use with no attribution. Always verify if "attribution" is required and how it should be displayed in your credits screen.
Commercial use grants you the right to sell your game, but it often comes with restrictions. Some licenses forbid reselling the icons as standalone assets or limit the number of copies sold. Premium resources from sites like itch.io or Unity Asset Store usually offer broader commercial rights for a one-time fee, but you still need to check if the license is exclusive or non-exclusive.
To stay safe, keep a spreadsheet of your assets. List the source, the license type, and any attribution requirements. This simple habit protects your indie game from unexpected legal hurdles and lets you focus on making it fun.
Integrate icons into your UI
Now that you have your sprite pack, the next step is getting those icons into your game engine so they actually show up on screen. This isn't just about dragging and dropping; it’s about setting up your assets so they scale cleanly across different resolutions. Think of this as preparing your ingredients before you start cooking—you want everything prepped and measured so the final dish comes together smoothly.
Step 1: Import the Sprite Sheet
Most indie icon packs come as a single image file containing multiple icons, known as a sprite sheet. You’ll need to import this file into your engine’s project folder (like Unity’s Assets or Godot’s res://). Once imported, select the image in your project view and locate the texture settings. This is where you define how the engine reads the single image as multiple distinct icons.
Step 2: Configure Texture Settings
In your texture importer, change the Texture Type to Sprite (2D and UI) or Import Mode: Multiple. If your pack is a grid, select the Grid Editing option. Enter the exact width and height of a single icon (e.g., 32x32 or 64x64 pixels). This tells the engine to slice the big image into individual pieces. Be sure to set the Filter Mode to Point (no filter) or Bilinear depending on your art style. For pixel art, Point is essential to keep those crisp, blocky edges from getting blurry when scaled.
Step 3: Extract and Scale in the UI
Finally, drag the individual icons from your sprite sheet into your UI canvas. Most engines will let you create a Sprite Atlas to group these icons together, which improves performance by reducing draw calls. When placing them in your UI, use the anchor settings to ensure they stay in place during window resizing. If you’re using a free pack from Game-icons.net or a premium set from Icons8, the process remains the same: import, slice, and place. Test your UI at different screen sizes to ensure the icons remain legible and don’t overlap with other interface elements.
Review your icon set for consistency
Before you finalize your asset library, treat your icon set like a single character in your game. It needs to speak with one voice. If you have a chunky, 8-bit sword next to a thin, neon sci-fi laser, the player’s brain will trip over the visual noise. Consistency is what turns a collection of assets into a cohesive UI.
Start by laying out your primary icons—health, inventory, and map markers—side by side. Check for matching line weights, corner radii, and color palettes. A common mistake is mixing free assets from sites like Game-icons.net with premium packs from Icons8 without adjusting the style first. Ensure they share the same visual DNA, whether that’s flat, isometric, or pixelated.
Run a final stress test by placing the icons in their actual UI context. Do they look out of place against your game’s background? Are they legible at small sizes? If an icon feels like it belongs to a different game, replace it. Your aesthetic is your signature; don’t let mismatched assets dilute it.
Common questions about indie game icons
Put ’s Hottest Indie Game Icons into practice
No comments yet. Be the first to share your thoughts!